Sunday 8 November 2015

Khorne Exalted Deathbringer

So I was going to paint him for eBay but I ended up spending a lot longer on him than planned so he turned out nicer than a quick job to auction.  In other news, I'm accepting commissions again!


This was my first model from the new GW Age of Sigmar range, a lot of fun to paint and hopefully I'll be picking up some more of the Khorne Bloodhound in the future.

C&C welcome as well as any questions about the techniques used :)


Friday 18 September 2015

Mierce Miniature and Scale75 Paint Reviews!

I've moved to university halls in Exeter, and set up my paints and miniature space there so I've had a chance to start trying some new paints and models I took with me.


This model I'm currently working on to represent my Dungeons and Dragons character is from mierce miniatures and the detail is superb! (The unpainted photo doesn't do it justice) 
The resin they use definitely isn't as brittle as some (yes, found out by accidentally dropping this model).  Also, the mould lines were there but minimal and I found zero air bubbles in the resin. 
The only potential downside to the model is the sculpted in detail such as veins and micro-scratches in the metal, having these sculpted in can mess with painters who use a lot of glazes who may prefer to paint on veins or battle damage afterwards.  
I will be sure to look at Mierce in the future when sourcing models for my games.


The axe head is almost finished, just some glazes and weathering powder to go, however, I've taken this picture before hand to show just the painting I have done using the Scale75 NMM paint set.
I really like these paints and I think the result looks pretty good too!


I'll start with the negatives; first is the bottles. The dropper bottles easily get clogged, and paint comes out very slowly until the clog dislodges and the paint spurts VERY fast.  When learning this the hard way I lost a fair amount of paint and got paint all over the table, this wasn't an issue as it cleaned off - the issue would be if that went on a model I'd spent hours painting.
The good thing about these paints are their consistency, the white doesn't go chalky and adding water won't cause them to separate, they're very compliant for glazing, wet blending and two brush blending.
The other feature to note is how matte these colours are; which means everything will show. 
The negative: layers aren't applied smoothly brush strokes will be more obvious than with Games Workshop paints for example. The positive: they can also give a really nice crisp finish to a painted area.
Overall I'd also recommend the scale75 paint range, but with the caveat that they're for the patient painter, if you just want to get an army done fast they might not be the best tool for the job.


Sunday 16 August 2015

Vampire Count Necromancer Showcase

I recently finished this necromancer for a painting competition at my local gaming store - possibly for the last time at that store!  In four weeks I begin university, I don't know what that will mean for my hobby and whether I still do commissions - but I could end up having more or less time than I do currently, anyway - I can evaluate that after freshers week.

Without rambling too much, here's the model - as always any questions or criticisms: comment bellow and I'll try to answer them :)


WIP:


Friday 8 May 2015

Khorne Red Skin

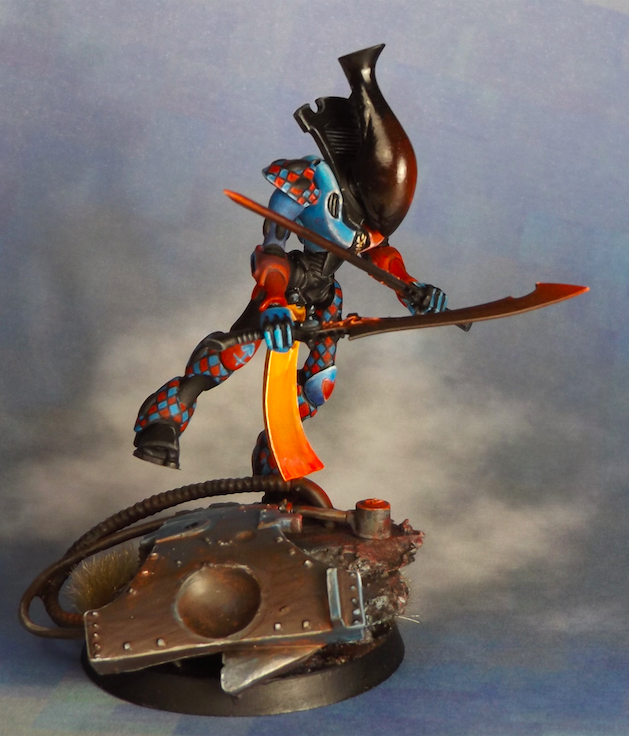
I've been painting the riders skin of this bloodcrusher and thought I would share the scheme and some tips for applying it.

First a basecoat of 1:1 mix of khorne red and abaddon black, then I mixed the same colours with extra black, added extra water and washed this in the recesses.  Here the important thing is just to cover the recesses, if it goes over onto to surrounding flesh - no problem as this isn't a neat stage.


Next I used a 2:1 mix of khorne red to abaddon black, I used a medium sized brush and added only a bit of water to the mix so it flows but also stays controlled. I applied this mix everywhere other than the recesses, which leaves dark lines in-between to define the muscles. If you do get this colour in the recesses between muscles, correct it using the previous wash mix.

After this I started the first of two highlight layers, I used pure khorne red and painted this on the upper most areas and edges of muscles, try to leave some of the previous colour showing through. Any mistakes can be corrected with using one of the previous mixes. 

The final highlight is blood red from the old GW paint range (evil sunz scarlet in the new range is equivalent). I thinned this with some lahmian medium to stop the highlight effect from being too stark for the flesh, then applied this in thin lines around the outermost edges of muscles. After this I went back for a fair amount of correction with khorne red.

Lastly I painted the bumps of the daemons skin, for most of them I just used lugganath orange, except on larger areas such as the back, for the lower half I used lugganath orange mixed with a bit of red, and then pure lugganath orange for the upper half. I did this to try to show how light would fall on the model from above.


I'm not sure how clear this was about placing colours, so although this looks dodgy compared to on a model, it should illustrate where I would place the various colours on a muscle:


So that is how I painted the skin on that bloodletter, although this same technique with different colours could be used for painting any colour skin, particularly high contrast non human skin like Orks!


Wednesday 6 May 2015

Bloodcrusher Red Metal


For painting the red armour on this bloodcrusher the stages are all quite quick and easy, there's no detailed highlighting involved as the shadows build the contrast.


First a basecoat of GW ledbelcher:

Then take GW runefang steel and wet-brush over the basecoat. What I mean by a wet brush is like the more common dry brush technique, except you don't wipe the paint off of your brush before moving it rapidly over the uppermost areas of the metal. Doesn't have to be too neat at this stage!


Wash with Agrax Earthshade


Wash with Carroburg Crimson


Next I used tamiya clear red paint and thinned it with isopropyl alcohol (as water makes the paint congeal) I applied this is two thinner coats, as not ensure it didn't go down too thick and block up being able to see the previous shading stages.


From here adding the surrounding details helps make the red pop more. 
Hope this was useful!

An Update

As exams draw near I've been trying to find the time for painting, it's certainly been a while since a post.  Although I have gotten through a lot of half projects and worked on a few tricks behind some techniques such as OSL (which making things appear to glow from a light source).

Here's a few images of two things Ive painted, to be followed first by an OSL guide tomorrow, then after a speed blending article, and some product reviews.


Monday 9 March 2015

Harlequin Wraithguard Showcase

I've got some of the new harlequin models so before I started, I tested some scheme ideas on this eldar wraithguard.

I didn't worry so much about trying to make the detail and diamonds perfect but instead focused on getting a good feel for the colours and textures I wanted to use.

If you're interested in any of the techniques I've used, leave a comment and I can upload how-to article(s) covering them later this week!