I've been wanting to do a post on blending for a while, since it plays a large part of almost all of my display level miniatures.
Firstly, blending is making a smooth transition from one colour to another, from a dark colour to a lighter version or it could be between hues e.g. purple to green.
I think for many painters it's their style of blending that makes their work recognisable to them, for example
James Wappel's shaded basecoats / wet-blending give big variations in hue, whilst
ThirdEyeNuke's realistic dirty and dark style is recognisable by the high contrast blends in value (light to dark) close to grey colours.
For my commission work I tend to do varying types or blending for whatever's required, but for my own display painting I've been trying to identify a style of my own but more on that later. Before that I'll outline the How To's of most of the types of blending I use.
First, wet blending: (WIP reaver)
Take two paints either unthinned or with a small amount of drying retarder. Place a band of one colour one side of where the blend is to be, then next to it place another band of the colour to be blended to, and whilst both are still wet on the model, take slightly damp brush and using small side to side motions to blend between the two colours.
Instead of just blending the dark burgle to bright blue, to make the transition smoother I wet blended a dark purple to a dark blue, then the dark blue to a brighter blue.
For purple to blue wet blending works and can be quite a fast technique with not too many steps involved, but when the colour change becomes more dramatic, for example a dark red to bright green, wet blending can be a much harder method to get a smooth blend.
Most of the blending on this riptide was wet blending:
Two Brush Blending (Spiritseer)
Bit of a misnomer as I don't use two brushes for the technique, but thats the way it is traditionally done. The paint is thinned with just a bit of water (or medium) to the consistency of what you'd normally use to paint a layer of a colour. The second brush is then damp, not saturated, and the small amount of water is used to drag paint out from the bounds a bit onto the other colour, smoothing the blend.
Instead of using a second brush I tend to just quickly wash out my first brush. Good thing about this technique is it takes no planning, unlike wet blending where you have to lay out the colours, with this, I sometime just apply a layer and if I think the line between colours is a bit harsh i'll just get a bit of water on my brush and quickly do a rough wet blend to smooth things out.
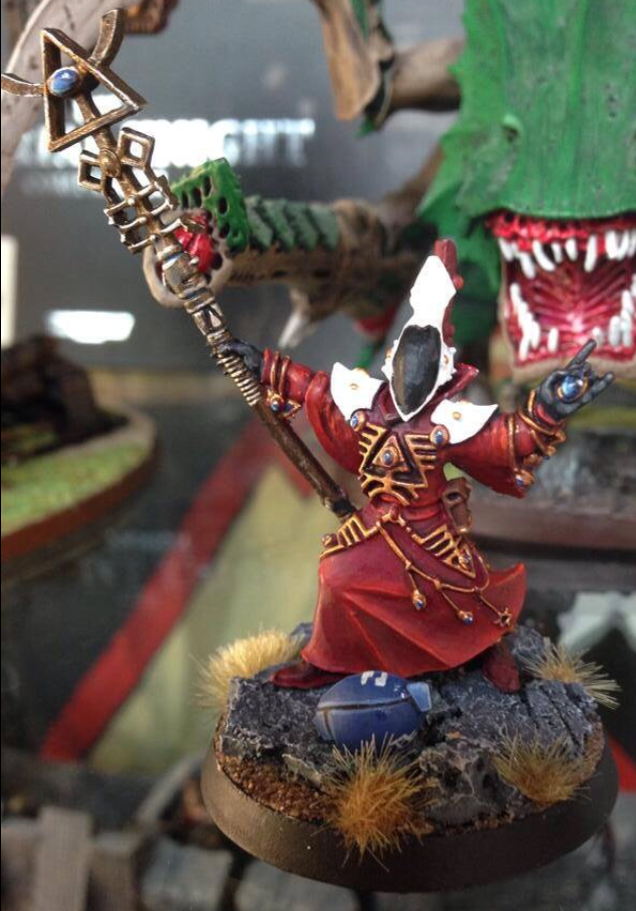
Glazing: (Eldar Warlock Blade)
Essentially thin your paints with water or medium or flow improver or a mix of those. For quick work I don't worry and just use water, most of the time I'll use acrylic medium, and occasionally flow improver for painting small areas. For testing consistency I use the
skin test (also see
handy painting article for
smudge blending)
Next, apply a thin glaze at the part you want a different colour, let it dry, apply another glaze further towards the different colour part, let it dry, repeat until the colour build up sufficiently. The good thing with this technique is less thinned paints will build up the colour quicker for a fast paint, whilst very thinned glazes can give seamless blends. Thats where it's necessary to experiment with the effects you get with different consistencies of glazes.
This technique doesn't rely on paints on the mini still being wet so you can come back to blending in another colour later, e.g. this green glow after the fabric was painted:
Layering: (Tau Ethereal)
The purple and black fabric on this model are layered. The number of layers is what makes the blend smooth. So for starting with a black / purple, i applied an opaque layer over the cape, mixed in a bit more purple, and applied a layer everywhere but the deepest recesses. a bit more purple, then applied more towards the highlight areas. then repeated over many many layers each slightly different from the last applied further towards the parts that are going to be that bright purple colour. The same process was done using grey instead of purple for the black robes.
I tend to find layering works very well with dark colours whilst i'll use it a lot less for brighter blends.
Feathering [Or at least how I do it]: (Eldar Weapon Platform WIP)
Video on how I painted the weapon platform
The above is an example of a very smooth use of feathering, quite often though i'll use it with far less thin paint, just using the dragging jagged motion to blend, as on this weapon:
All of The Above:
I rarely create a blend with just one of these techniques, more often using a rough thicker paint blend; such as wet blending, rough feathering or layering, and then over the top of that glazing. Also there needn't be a clear cut distinction between these techniques, if I'm layering and the previous coat in an area hasn't dried yet, nothing stops me from just taking my brush and wet blending there to smooth out the colours. Edge highlights can also really create some great looks when used with blending, the important thing is to experiment yourself to find what works when. These can definitely be tricky techniques, and particularly with glazing I wasn't happy with my results for a long while.
I'll give some picture examples of what edge technique combinations can work well:
Using glazes to soften edge highlights to look right for fabric:
From this:
To this:
Using a rough feathered purple to green to build on and smooth with light and dark glazes up to white and down to near black:
Using layering, then multiple edge highlighting to make those layers pop:
I started off by talking about style, and how various artist are recognisable, I know i've tried quite a few but I don't think I really have a particular aesthetic yet that makes my work recognisable or maybe to others there is? I'd be interested to see any opinions people have in the comments.
Anyway, I hope this blending guide was useful, if you like leave a comment asking and I can add more depth on specific techniques I used on any of these models.


